
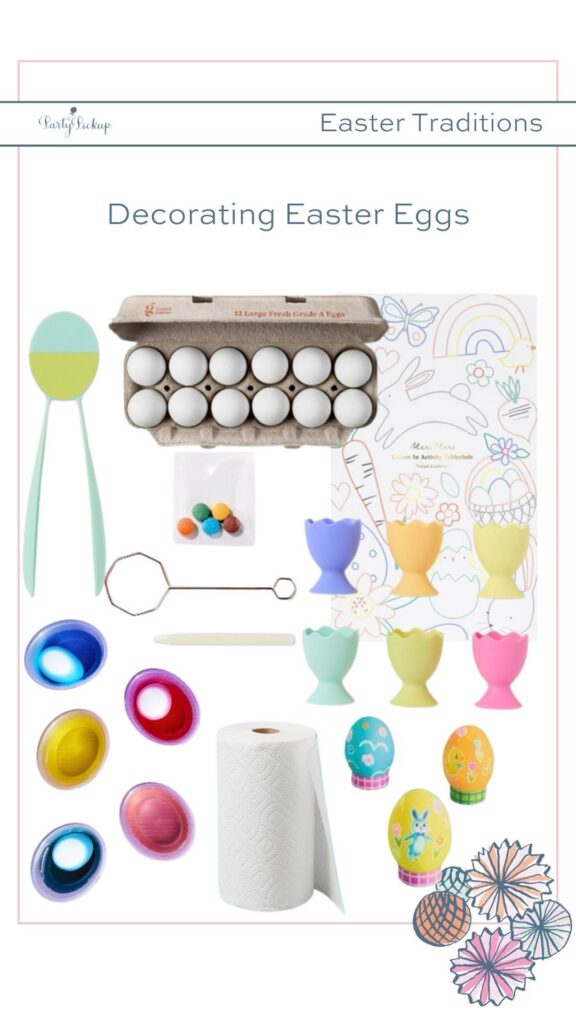
Dyeing Easter Eggs: A Simple Tradition We Keep Every Year
Dyeing Easter eggs is one of our favorite ways to celebrate the season as a family. It’s simple, meaningful, and always worth the mess.
A Family Tradition for Easter
Every year, we come back to dyeing Easter eggs. It’s such a fun tradition, and even our older kids love to participate. While there are countless creative methods, we usually stick with the traditional approach. The classic dye tablet kit may be old school, but they always work beautifully.
The colors turn out vibrant, and the process feels just as fun as it did years ago. Even better, it doesn’t require complicated supplies or extra planning.
Setting Up for Easy Cleanup
Before we start, we always prepare our workspace carefully. This step makes the entire experience more enjoyable and stress-free.
We usually use our kitchen island and cover it completely with a disposable plastic tablecloth. Paper towels are also essential and stay within arm’s reach the entire time.
Spills will happen, so having everything protected makes a big difference. In addition, cleanup becomes quick and easy once the eggs are finished.
What to Wear (and Why It Matters)
It’s always a good idea to wear an old shirt when dyeing Easter eggs. The dye can stain quickly, especially with younger kids helping.
Even with careful hands, drops of color tend to land where you least expect them. Choosing clothes you don’t mind getting messy helps everyone relax and enjoy the process.
Our Go-To Traditional Method
We keep things simple with dye tablets, vinegar, and cups of water. The process is straightforward and easy for all ages to follow.
First, we dissolve the tablets and add a splash of vinegar to each cup. Then, we gently place the eggs into the dye and wait for the colors to develop.
Some eggs stay in longer for deeper shades, while others come out quickly for softer tones. This variety creates a beautiful mix when everything is finished.
Creative Ways to Decorate Easter Eggs
Although we love the traditional method, we also like to mix in a few creative touches. For example, temporary tattoos can be applied to eggs for a fun and unexpected detail.
Another favorite is using Mod Podge to add small pieces of paper or decorative elements. This technique adds texture and gives each egg a unique look.
These simple additions keep the tradition fresh while still feeling easy to manage.
When We Dye Our Eggs
We usually dye our Easter eggs a few days before Easter Sunday. This timing allows us to enjoy them as part of our home decor throughout the week.
Styling Your Decorated Easter Eggs
Once the eggs are finished, we love finding simple ways to display them. One of our favorite options is piling them onto an antique cake stand.
They also look beautiful arranged on a pretty tray in the kitchen or dining room. These small details make the home feel festive without requiring extra effort.
A Tradition That Feels Like Home
Dyeing Easter eggs is not complicated, but it always feels special. It creates a moment to slow down and spend time together.
Year after year, this tradition remains one of the simplest ways we celebrate the season. I’ve linked some of my favorite Easter Dyeing Kits and Accessories here. Happy Easter!
If you enjoyed this post, you might also like:
share
Join the party
Join the Party: Where Milestones Meet Memories! Subscribe to my blog for a dose of party guides, inspiration, and fun!
Leave a Reply


Join the party
Join the Party: Where Milestones Meet Memories! Subscribe to my blog for a dose of party guides, inspiration, and fun!

comments